
The simplest answer to how you sharpen a kitchen knife is by removing a small amount of metal from the blade’s edge until a new, sharp edge is formed, usually done using an abrasive surface like a whetstone or an electric machine. A dull knife is dangerous and frustrating. Knowing the proper knife sharpening techniques keeps your cooking safe and enjoyable. This guide will walk you through everything. We will look at different tools and methods so you can choose the best method for knife sharpening for your needs.
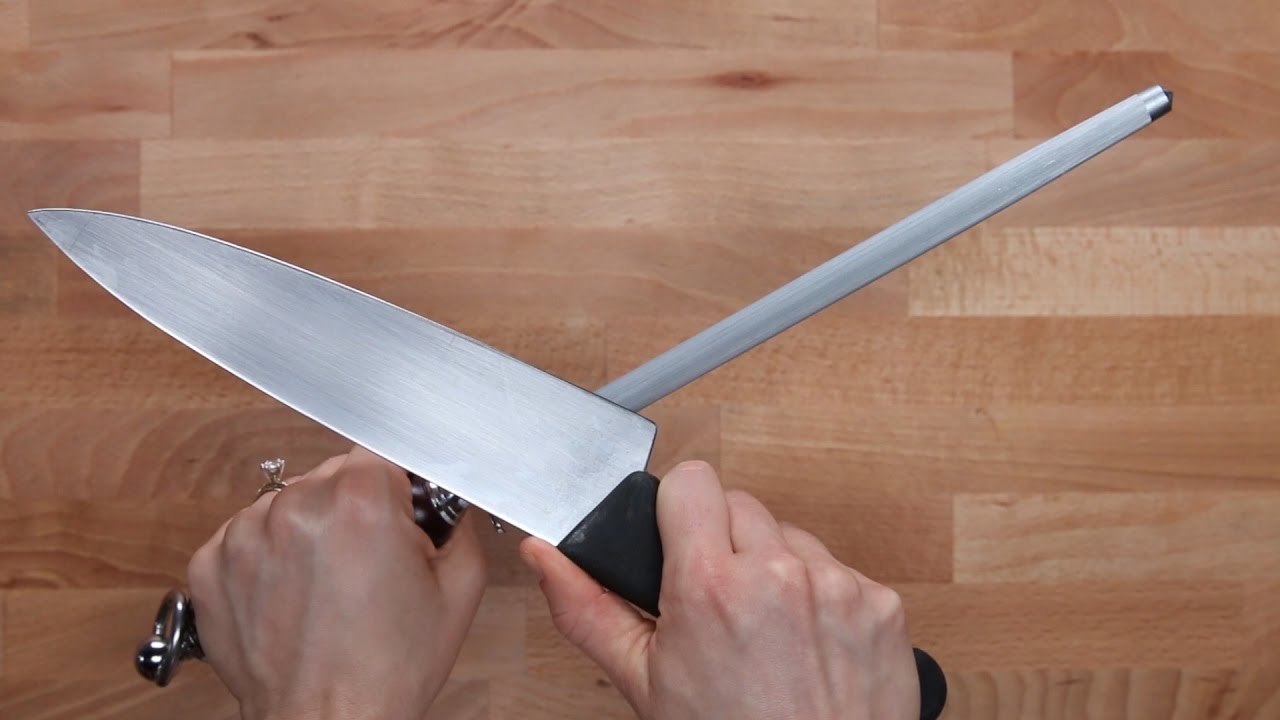
Image Source: i.ytimg.com
Why Knives Get Dull
Knives do not just stop being sharp. They get dull from use. Every time you cut food, the tiny edge of the blade rolls over or chips slightly. This rolling or wear is why the knife feels dull. It is not actually ‘worn out’; it just needs realignment or metal removal to restore the fine edge.
Essential Tools for Knife Sharpening
To sharpen a knife effectively, you need the right gear. Your choice of tool often depends on your budget, the type of knives you own, and how much time you want to spend.
1. Whetstones: The Traditional Approach
Whetstone sharpening is widely considered the gold standard by many chefs and knife enthusiasts. These stones use abrasive particles to grind away steel.
Types of Sharpening Stones Grits
Whetstones come in different coarseness levels, measured in grits. The grit number tells you how fine or coarse the stone is. You usually need at least two grits: a coarse one for repair and a fine one for finishing.
| Grit Range | Purpose | Resulting Edge |
|---|---|---|
| Coarse (120–800 Grit) | Repairing chips, setting a new edge angle. | Very rough, needs further refinement. |
| Medium (1000–3000 Grit) | General sharpening, removing scratches from coarse stone. | Good working edge, suitable for most daily tasks. |
| Fine (4000 Grit and up) | Polishing the edge, making it razor-sharp. | Very smooth, highly refined edge. |
To use these stones well, you must keep them flat. They often need soaking in water (water stones) or just a light splash (oil stones).
2. Honing Steels: Realignment, Not Sharpening
Many people mistake using a honing steel use for sharpening. A honing steel does not remove metal or create a new edge. Instead, it pushes the slightly bent metal back into alignment. Think of it like straightening a bent piece of wire. It restores the ‘bite’ temporarily. You should use your honing steel often—even daily—between true sharpening sessions.
3. Electric Knife Sharpeners
An electric knife sharpener offers speed and convenience. These machines have abrasive wheels that spin automatically. They are often pre-set to the correct sharpening angle.
- Pros: Very fast. Easy for beginners to use.
- Cons: They remove more metal than manual methods. The preset angle might not suit all your knives. Cheaper models can damage softer steel blades.
4. Manual Knife Sharpeners
These include pull-through gadgets, often with carbide or ceramic slots. A manual knife sharpener is cheap and portable. Like electric sharpeners, they are easy for novices. However, they offer very little control over the angle and can aggressively grind away your blade.
Deciphering the Sharpening Angle
The angle at which you sharpen the blade is crucial. This angle determines how sharp the knife feels and how long the edge lasts. Different knives require different angles.
- Western/European Knives (e.g., Wüsthof, Henckels): These typically use a wider angle, often 20 to 22 degrees per side. This makes the edge tougher and more durable for general kitchen work.
- Japanese Knives (e.g., Shun, Global): These often use a very acute angle, usually 10 to 15 degrees per side. This creates a much sharper initial cut but requires harder steel and more careful use.
Grasping the angle correctly is the biggest challenge for beginners. If the angle is too wide, the knife won’t cut well. If it’s too narrow, the edge will chip easily. When using a whetstone, you need to maintain this angle consistently throughout the stroke. Some angle guides clip onto the spine of the knife to help beginners maintain the correct pitch.
Step-by-Step Guide to Whetstone Sharpening Techniques
Since whetstone sharpening gives the most control, let’s detail the process. This is often cited as the best method for knife sharpening for high-quality tools.
Phase 1: Preparation
- Soak the Stone: If using a water stone, submerge it completely until air bubbles stop rising (usually 5 to 10 minutes). Keep the stone wet during sharpening.
- Secure the Stone: Place the stone on a non-slip mat or a dedicated stone holder. It must not move while you work.
Phase 2: Setting the Edge (Coarse Grit)
If your knife is very dull or damaged, start with a coarse stone (around 400 or 600 grit).
- Find the Angle: Place the blade flat on the stone at your chosen angle (e.g., 20 degrees). You can use the “matchbook trick”—the thickness of a matchbook cover held against the spine often approximates a 15-20 degree angle.
- Stroke Direction: You can push the edge into the stone (like slicing bread) or pull the edge away from you (like pushing the knife away). Pulling strokes are often easier for beginners to control.
- Sharpen One Side: Apply light, even pressure. Slide the entire length of the blade across the stone, from heel to tip, in one smooth motion. Repeat this stroke about 10 to 15 times on the first side.
- Develop the Burr: Continue sharpening until you feel a “burr” on the opposite side of the edge. A burr is a tiny wire edge that curls over to the side you aren’t sharpening. You can check for it by gently running your thumbnail away from the edge on the opposite side. If you feel a slight catch, you have raised a burr across the entire length.
Phase 3: Refining the Edge (Medium Grit)
Once the burr is established across the whole blade, switch to your medium stone (1000 to 2000 grit).
- Repeat the Process: Sharpen the first side using the same angle, focusing on removing the scratches left by the coarse stone.
- Alternate Sides: Sharpen the second side until you raise a burr again. Now, switch to alternating strokes—one stroke on the left side, one stroke on the right side. This helps balance the edge.
Phase 4: Polishing (Fine Grit)
Switch to your fine stone (4000 grit or higher). This step refines and polishes the edge.
- Light Pressure: Use very light pressure now. The goal is refinement, not metal removal.
- Alternating Strokes: Continue alternating sides, perhaps using slightly fewer strokes (e.g., 10 on each side, then 5, then 3, then 1).
- Stropping (Optional): Some enthusiasts use an even finer polishing surface, like leather strop loaded with polishing compound, to remove the final, microscopic burr.
Using Electric and Manual Sharpeners
While whetstones offer superior results, sometimes speed is essential.
Electric Knife Sharpener Operation
If you opt for an electric knife sharpener, always follow the manufacturer’s instructions precisely.
- Usually, you simply pull the knife through the slots in sequence (coarse to fine).
- Do not press down hard; let the machine do the work.
- Go slowly. Multiple light passes are better than one hard pass.
Manual Pull-Through Sharpeners
Use these only for very minor touch-ups on inexpensive knives. They are poor for precision work. Insert the knife and pull it through the slot firmly, often 5 to 10 times per side. Never use these on expensive Japanese blades unless you accept significant damage to the precise factory edge.
Post-Sharpening Care: Maintaining a Sharp Knife
Sharpening creates a new edge, but proper care ensures that edge lasts. Maintaining a sharp knife involves more than just sharpening sessions.
The Role of Honing
As mentioned, use your honing steel frequently. If your knife starts dragging slightly during a cut, it’s time to hone, not sharpen. Honing realigns the micro-edge that has rolled over.
Frequency Guideline:
- Honing: Before or after every heavy use session (daily or several times a week).
- Sharpening (Whetstone): Every 3 to 6 months, depending on how often you use the knife and the steel quality.
Proper Cutting Surfaces
The surface you cut on has a huge impact on edge life.
- Good Surfaces: Wood (end-grain preferred), plastic, or soft composite cutting boards.
- Bad Surfaces: Glass, ceramic, granite countertops, or metal. Cutting on these surfaces instantly dulls or chips the edge.
Cleaning and Storage
- Washing: Always hand-wash your knives immediately after use with mild soap and warm water. Dishwashers are the enemy of sharp edges—the harsh detergents dull the steel, and jostling against other items causes nicks.
- Drying: Dry the knife immediately to prevent rust, especially on high-carbon steel knives.
- Storage: Store knives safely where the blade edge does not hit anything. Magnetic strips, in-drawer knife blocks, or individual scabbards are ideal.
Professional Knife Sharpening Services
Sometimes, you might not have the time or the inclination for professional knife sharpening. This is where services come in handy. Professionals have access to high-end machinery, belt grinders, and specialized stones that can perfectly re-establish factory bevels or even switch a blade to a new sharpening angle.
When to Consider a Professional:
- When the knife edge is severely damaged (large chips).
- For very hard or specialty steels that are difficult to grind manually.
- When you want a perfectly mirrored polish that is hard to achieve at home.
- If you have a large collection of expensive knives.
Tip: Ask the professional what grit sequence they use and what angle they will set the blade to. Ensure they know what type of knife (Japanese vs. Western) they are working on.
Specialty Knives and Their Sharpening Needs
Not all blades are sharpened the same way.
Serrated Knives
Serrated knives (like bread knives) require a different approach. You must maintain the scallops (the dips) and the angled bevel on each side of the points.
- Tool: Use a ceramic rod or a specialized V-shaped sharpener.
- Technique: Only sharpen the angled side of the serration. Do not try to sharpen the flat back of the blade, or you ruin the point.
Ceramic Knives
Ceramic knives are incredibly hard but brittle. They cannot be sharpened with traditional steel or most electric sharpeners.
- Tool: You need specialized diamond abrasives or industrial diamond sharpeners.
- Note: Due to the difficulty, most owners send ceramic knives out for professional knife sharpening.
Advanced Concepts in Sharpening
Moving beyond basic technique involves optimizing speed and refinement.
Edge Geometry and Apex Formation
The goal of any sharpening process is creating a perfect apex—the actual point where the two sides meet. Good knife sharpening techniques focus on consistency to ensure both sides meet precisely at the center line. If the two sides meet unevenly, you get an asymmetrical edge that feels dull quickly.
Stropping for Peak Performance
Stropping is the final step. It uses a softer material (leather or canvas) often treated with a fine abrasive paste (usually containing chromium oxide). Stropping refines the apex left by the finest stone. It removes the microscopic burr left by the stone, polishing the edge to a near-mirror finish. A well-stropped edge will slice paper like silk.
Troubleshooting Common Sharpening Issues
| Problem | Cause | Solution |
|---|---|---|
| Knife still feels dull after sharpening. | Burr was not fully removed, or the angle shifted halfway through. | Go back to a medium grit stone and focus intensely on raising and then removing the burr completely on both sides. |
| Edge seems sharp, but rolls immediately. | Angle is too narrow, or the steel is too soft. | Sharpen at a slightly wider angle next time, or use a honing steel more often. |
| Stone surface is getting concave (dished in). | Uneven pressure, or the stone is worn out. | Flatten the stone using a flattening stone (lapping plate). |
| Uneven scratching on the blade face. | Applying too much pressure or incorrect angle near the heel/tip. | Use lighter pressure overall and ensure you follow the sweep of the entire blade across the stone. |
Summary of Sharpening Methods Comparison
Choosing the right tool depends on your goals.
| Method | Control Over Angle | Speed | Skill Required | Metal Removal Rate | Best For |
|---|---|---|---|---|---|
| Whetstone | Highest | Slowest | High | Low (Controllable) | High-end knives, enthusiasts. |
| Electric Sharpener | Lowest (Fixed) | Fastest | Low | High | Quick touch-ups, low-cost knives. |
| Manual Pull-Through | Very Low (Fixed) | Fast | Very Low | High | Emergency only, very cheap knives. |
| Professional Service | Varies by vendor | N/A | N/A | Varies | Severe damage, specialized needs. |
Frequently Asked Questions (FAQ)
How often should I sharpen my kitchen knives?
This depends entirely on usage. If you use a knife daily for heavy chopping, you might need a full sharpening (whetstone) every few months. If you only use it occasionally, it might only need sharpening once a year. Use your honing steel weekly to extend the time between sharpenings.
What is the easiest way to tell if my knife is sharp?
The paper test is the easiest. Hold a sheet of standard office paper vertically. A truly sharp knife should slice through the paper smoothly, without tearing or catching, even when cutting at the edge of the paper. A razor-sharp knife can even shave arm hair.
Can I sharpen a knife without a whetstone?
Yes, you can use an electric knife sharpener or a manual knife sharpener. However, these methods offer less precision and remove metal faster than whetstone sharpening. They are acceptable for everyday cutlery but not ideal for premium or delicate blades.
How do I keep my whetstones flat?
Whetstones naturally wear down unevenly, developing a groove or dish in the middle from repeated use. You must flatten them using a dedicated flattening stone (lapping plate) or coarse silicon carbide powder and water. A flat stone is essential for achieving a consistent sharpening angle.
Is a honing steel the same as a sharpener?
No. A honing steel realigns the edge; it does not remove metal to create a new, sharper edge. It is a maintenance tool used frequently between actual sharpening sessions. A true sharpener uses abrasives to grind metal away.
Should I use oil or water on my sharpening stones?
This depends on the stone type. Oil stones require honing oil. Water stones require water. Do not mix them unless specifically instructed by the manufacturer. Always check your stone’s instructions before wetting or oiling.
What is the ideal sharpening angle for a general-purpose chef’s knife?
For general Western-style 8-inch chef’s knives, an angle of 20 degrees per side provides a great balance between sharpness and edge durability. For thinner Japanese blades, aim closer to 15 degrees. Consistency in maintaining this sharpening angle is more important than the exact degree.