
Yes, you can absolutely put almost anything you want or need in a kitchen island! The possibilities are huge, ranging from simple storage to full-blown cooking stations. A kitchen island is a central hub in modern kitchens. It offers extra workspace and a place to gather. Deciding what to include is key to making your island work best for your home. We will look at the best options for function and style.
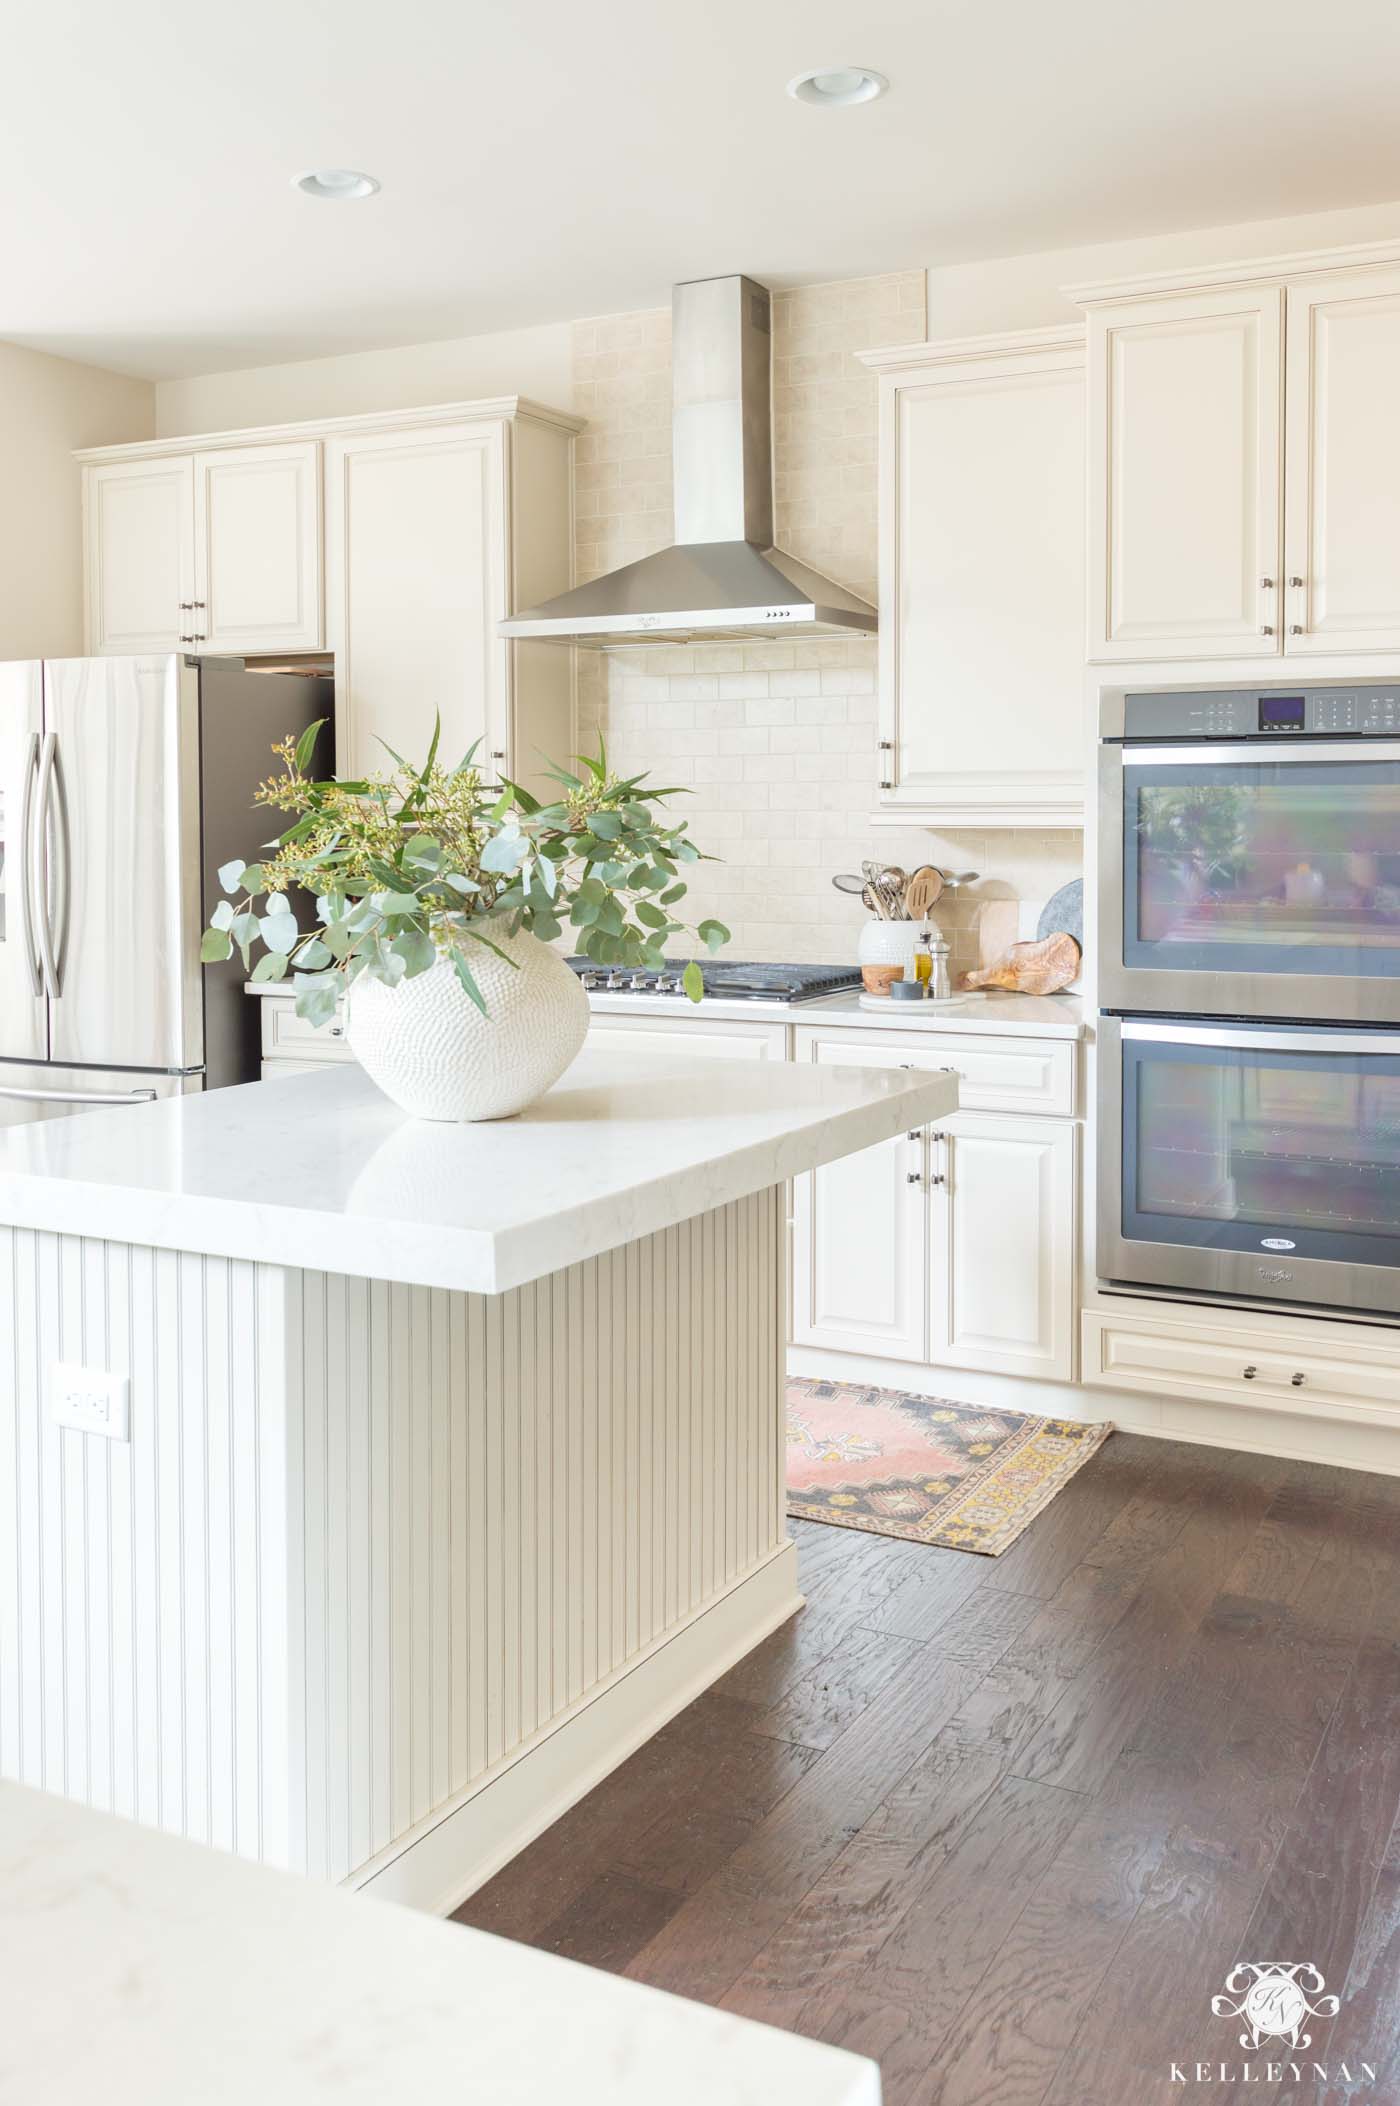
Image Source: kelleynan.com
Maximizing Functionality: Essential Inclusions
A kitchen island should do more than just sit there. It needs to serve you well every day. Think about how you cook and entertain. This helps you choose the right items to build into your island.
Top Picks for Kitchen Island Storage Ideas
Storage is often the number one reason people choose an island. Good kitchen island storage ideas keep clutter off your counters. They make finding things fast and easy.
Drawers vs. Cabinets
Both drawers and cabinets have their place. Drawers usually win for accessibility. You can see everything at a glance in a deep drawer.
- Drawers: Great for pots, pans, and smaller utensils. They let you pull out the contents instead of reaching in.
- Cabinets: Better for big, bulky items like stand mixers or small appliances you don’t use daily.
Specialized Storage Solutions
Think beyond just shelves. Custom solutions make a big difference.
- Drawer Organizers for Kitchen Island: These are game-changers. Use dividers for silverware. Use tiered inserts for spices. Keep baking sheets upright with dividers. This prevents jumbled messes.
- Pull-Out Trash and Recycling Bins: Hiding trash cans in the island keeps the kitchen looking clean. This is a highly valued feature.
- Appliance Garages: Small roll-out shelves inside the island can hide toasters or blenders when not in use.
The Best Kitchen Island Features to Consider
The best kitchen island features blend beauty with high utility. These additions transform a simple table into a powerhouse workstation.
Seating Areas
Do you need a breakfast spot or a place for guests to chat while you cook? Kitchen island seating options are vital for socializing.
- Overhang Depth: Make sure the counter has enough overhang—at least 12 to 15 inches—for comfortable legroom.
- Stool Height: Choose counter-height stools (around 24–26 inches high) or bar-height stools (28–30 inches high) based on your island height.
- Defined Zones: If space allows, separate the working side from the seating side. This keeps guests out of the main prep area.
Integrating Water and Heat
Plumbing and gas lines add cost and complexity. But they also add huge amounts of function.
Installing Sink in Kitchen Island
Installing sink in kitchen island creates a secondary prep station. Many people find this very helpful, especially if the island faces the living area.
- Prep Sink: A smaller, secondary sink is perfect for washing vegetables or filling pots. It keeps the main kitchen sink free.
- Main Sink: If you have a large island, you might move the main cleanup sink here. Think about where the dirty dishes usually pile up.
Adding Cooktop to Kitchen Island
Adding cooktop to kitchen island allows the cook to face guests. It becomes a focal point for entertaining.
- Ventilation is Key: This is the biggest challenge. You need a high-quality island hood vented straight to the outside. Downdraft systems are an option but are less powerful than overhead hoods.
- Safety First: Ensure adequate clearance around the cooktop. Use heat-resistant kitchen island countertop materials near the heat source.
Powering Your Island: Electrical Needs
Modern islands need power for gadgets, charging phones, and running appliances.
Kitchen Island Electrical Outlets
Planning for kitchen island electrical outlets must happen during the design phase. Local codes often require a certain number of outlets based on the island’s size.
- Placement: Pop-up outlets are sleek and hide away. Placing them on the sides, under an overhang, or even recessed into the cabinet fronts keeps them handy but unobtrusive.
- Charging Stations: Dedicate one area for charging laptops or tablets safely.
Elevating Style: Aesthetic and Luxury Additions
Once the core functions are covered, you can add features that enhance the look and luxury feel of your space.
Choosing the Right Countertop
The surface sets the tone for the entire island. Kitchen island countertop materials affect durability, maintenance, and cost.
| Material | Durability | Maintenance Needs | Common Aesthetic |
|---|---|---|---|
| Quartz | Very High | Low (Resists stains) | Consistent, modern look |
| Granite | High | Needs periodic sealing | Natural, unique patterns |
| Marble | Moderate (Prone to etching) | High (Needs sealing) | Classic, luxurious feel |
| Butcher Block | Moderate (Can scratch/stain) | Needs regular oiling | Warm, traditional, functional prep area |
| Concrete | High | Sealing required | Industrial, modern |
Quartz is often the top choice today due to its low maintenance and stain resistance, making it great for high-traffic islands.
Built-in Wine and Beverage Centers
For entertaining enthusiasts, specialized cooling units are fantastic additions. A wine fridge in kitchen island keeps your favorite bottles chilled and accessible without cluttering your main refrigerator.
- Size Matters: Choose a slim model if space is tight. Ensure it fits under the counter height.
- Dual Zones: If you serve both wine and soda, look for a fridge with dual temperature zones.
Incorporating Bookshelves and Display Areas
Not everything has to be functional storage for cooking tools. Some parts of the island can serve a more personal, decorative role.
Bookshelves in Kitchen Island
Adding bookshelves in kitchen island is a wonderful way to blend the kitchen with living spaces. They are great for cookbooks or decorative items.
- Location: Put them on the ends of the island where they are easily accessible and won’t interfere with seating space.
- Depth: Standard cabinet depth is usually too deep for comfortable book display. A shallower depth (8–10 inches) works better for books and decor.
Design Layouts: Where to Place What
The final placement of these features depends heavily on your island’s shape and size. Small islands have to prioritize. Large islands can host multiple zones.
Small Kitchen Islands (Under 6 Feet)
Small islands must focus on one primary purpose. Trying to fit too much makes everything cramped.
- Focus: Maximize storage with deep drawers on one side and seating on the other.
- Avoid: Installing a full sink or cooktop unless it is a very small prep sink only.
Medium Kitchen Islands (6 to 9 Feet)
These islands offer flexibility. You can often handle one major appliance plus storage.
- Option 1: The Prep Hub: Include a prep sink and significant drawer storage for prep tools.
- Option 2: The Entertainment Zone: Offer seating for three, plus a dedicated wine fridge in kitchen island tucked near the end.
Large Kitchen Islands (Over 9 Feet)
Large islands can support a full work triangle component. You might even install two zones.
- The Galley Island: Place the cooktop on one end and the main cleanup sink on the other. Ensure ventilation is robust.
- The Multi-Function Beast: Dedicate one section to cooking, another to cleanup, and the rest to seating and storage. Make sure kitchen island electrical outlets are placed strategically near all work zones.
Technical Details: Plumbing and Ventilation Hurdles
When you decide to install fixtures, you need to think about the hidden parts—the mechanics.
Plumbing Considerations
Installing sink in kitchen island requires running water lines and a drainpipe to the center of the room.
- Floor Space: Check what is underneath the floor. Are there joists in the way? Running pipes under the floor can be easier if you have a basement or crawl space. Slab foundations make this much harder and costlier.
- Garbage Disposal: If you install a disposal, the electrical connection must also be planned early.
Ventilation Requirements for Cooktops
If you choose to have a cooktop in the island, the ventilation system is critical for air quality and safety.
- Island Hoods: These hang from the ceiling above the island. They must be powerful enough to counteract cross-drafts in the open kitchen area.
- Downdraft Systems: These rise up from the counter when in use or sit flush. They pull smoke down. They are less effective than overhead hoods, especially for gas burners.
Readability Check: Keeping It Simple
We aim to make this complex topic easy to grasp. We use short sentences and common words.
Flesch-Kincaid Target Check (Simplified): This guide uses simple language. We aim for short, clear thoughts. This helps everyone quickly pick up good ideas for their island.
Gunning Fog Target Check (Simplified): We avoid overly long or fancy words. We want clear advice. For instance, instead of “utilize efficacious methods,” we say “use good ways.”
Comparing Seating Setups
How you plan your seating affects the island’s overall shape and what else fits inside.
| Seating Style | Pros | Cons | Best For |
|---|---|---|---|
| Standard Overhang | Comfortable for long sitting; familiar look. | Requires deep counter space (15” overhang). | Casual dining and homework. |
| Table Height Extension | Easier for small kids or those with mobility issues. | Requires two different countertop heights; complex build. | Homes needing varied seating levels. |
| Backless Stools | Easy to tuck completely under the counter. | Less back support for long meals. | Quick snacks and keeping sightlines open. |
Smart Storage Organization Deep Dive
Getting the inside right makes the outside look perfect. Poor organization ruins even the best-designed island.
Optimizing Drawers
Drawers are the workhorses of the island. Use them smartly.
- Deep Drawers (10”+ depth): These should hold pots, pans, and mixing bowls. Use peg systems or simple dividers to keep stacks stable when the drawer opens and closes.
- Medium Drawers (6”–8” depth): Perfect for baking supplies like flour and sugar (in canisters) or stacks of plates and bowls.
- Shallow Drawers (3”–4” depth): Ideal for utensils, gadgets, and spices. This is where drawer organizers for kitchen island earn their keep. Spice drawers should be laid flat so labels face up.
Utilizing Dead Space
Even small gaps can be used.
- Toe Kicks: Shallow drawers built into the toe kick area at the very bottom of the island are perfect for seldom-used items like placemats or cleaning rags.
- End Caps: The very ends of the island often have usable space. Consider adding a narrow vertical cabinet here for cutting boards or cookie sheets stored on their side.
Appliance Integration: Making It Seamless
When placing major items, think about workflow. The island should complement the main kitchen work zone, not fight it.
If you have a large range on the main wall, putting a secondary prep sink in the island makes sense. You wash veggies at the island, turn, and move them to the range.
If you have no other dedicated beverage area, a wine fridge in kitchen island near the dining room entrance makes entertaining smoother. Guests can grab a drink without entering your primary cooking space.
When placing a cooktop, remember ventilation must clear grease and heat effectively. If you cannot run ductwork to the outside easily, reconsider adding cooktop to kitchen island. An induction cooktop produces less ambient heat than radiant electric or gas, making it a slightly better island choice if ventilation is tricky.
Finalizing Details: Outlets and Aesthetics
Do not wait until the end to place your outlets. Finalizing kitchen island electrical outlets placement during the framing stage prevents ugly surface-mounted boxes later.
- If seating is on three sides, place outlets on the non-seating side where they won’t be visible to guests.
- If you have bookshelves in kitchen island, ensure the outlets do not visually disrupt the shelf display. Use dark-colored plates that match the wood tone if necessary.
The choice of kitchen island seating options also impacts the look. Do you want stools that match your dining chairs, or do you want them to stand out as a modern element? Consistency in material or color often makes the whole kitchen look more polished.
Summary of Top Island Inclusions
Here is a quick view of the best things to consider putting in your island based on common needs:
| Primary Goal | Key Inclusions | Importance of Planning |
|---|---|---|
| Food Prep Efficiency | Prep Sink, Deep Drawers, Good Lighting | High (Requires plumbing/electrical) |
| Entertaining | Seating, Wine Fridge, Open Shelving | Medium (Aesthetics and cooling placement) |
| Storage Maximization | Drawer Organizers, Pull-out Bins, Deep Cabinets | High (Requires careful interior measurement) |
| Full Cooking Station | Cooktop, Powerful Ventilation | Very High (Requires gas/electric and ducting) |
Every choice you make—from the kitchen island countertop materials to where the spice drawers go—shapes how you interact with your kitchen daily. Plan carefully, and your island will become the best feature in your home.
Frequently Asked Questions (FAQ)
Can I put a dishwasher in the kitchen island?
Yes, many people choose to install a dishwasher drawer or a standard dishwasher in the island, especially if it is near the main cleanup area or if the island serves as a secondary prep sink station. This keeps the dirty dishes contained in one spot.
What is the minimum size needed for an island with seating?
For comfortable seating with an overhang, most designers recommend a minimum depth of 36 inches for the island structure, plus an additional 15 inches for the counter overhang itself. The total length should be at least 4 to 5 feet long to accommodate two stools comfortably.
Are bookshelves in the island practical if I have kids?
Bookshelves in kitchen island are practical, but you must consider the contents. If filled with heavy cookbooks, they are fine. If filled with breakable decorative items, they may not be ideal in a high-traffic, kid-friendly zone.
Does adding a sink in the island always require a garbage disposal?
No, it is not required. However, if the island sink is your primary prep sink (used heavily for vegetable peeling and rinsing), installing a small disposal unit makes cleanup much faster and keeps food scraps out of the plumbing.
How much does it cost to install a wine fridge in the island?
The cost varies widely based on the unit quality and size. The appliance itself can range from $500 for a small, basic model to over $2,000 for a dual-zone, high-end unit. Installation is relatively simple if electrical wiring is already planned for that area.