
Yes, you can easily use a Kitchen Mama can opener by clamping it onto the can rim, turning the power switch on, and letting the device walk around the lid until it pops off. This detailed guide will show you exactly how to get started, maintain your device, and solve common problems. Many people look for the best way to use electric can opener models like the Kitchen Mama because they offer convenience and safety compared to older tools.
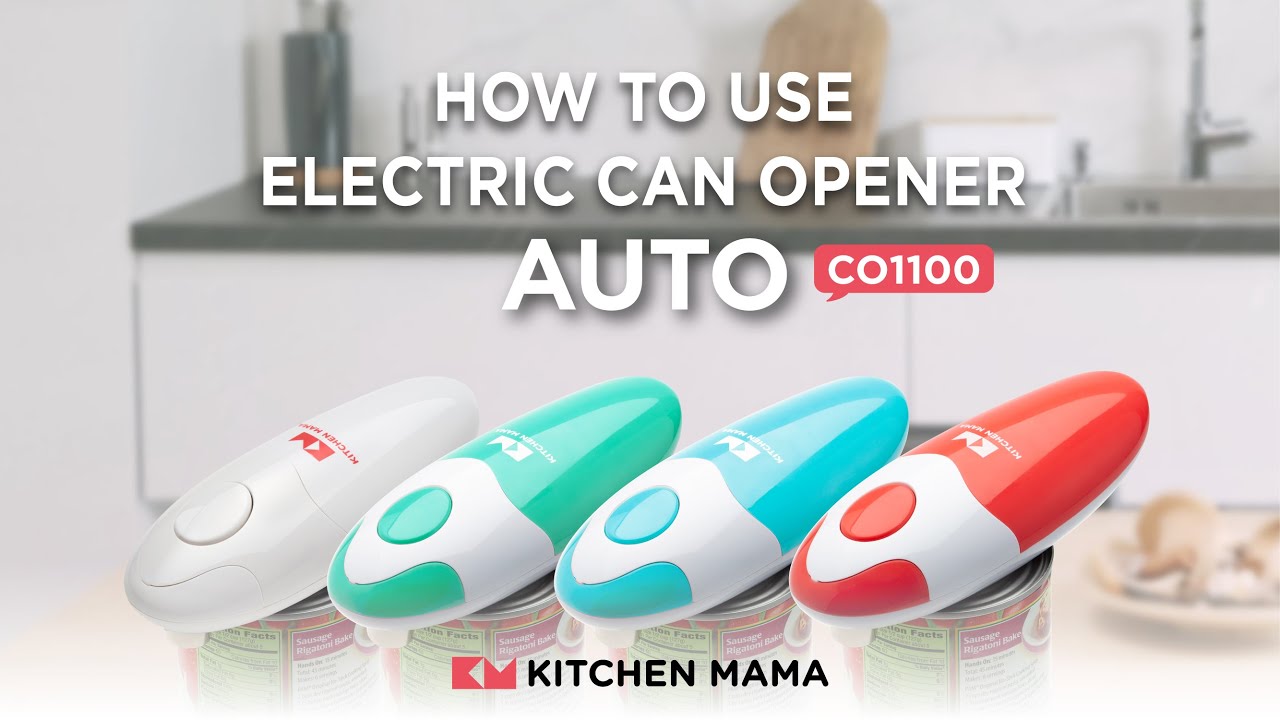
Image Source: i.ytimg.com
Getting Started: Setting Up Your Kitchen Mama Can Opener
Before you pop open that first can, you need to make sure your Kitchen Mama is ready to go. Getting the setup right is the first step in following proper Kitchen Mama can opener instructions.
Initial Inspection and Charging
When you first unpack your Kitchen Mama, check all the parts. Make sure the cutting wheel and the gear look clean and undamaged. Most modern Kitchen Mama models are rechargeable.
Charging the Device
If your model uses batteries, follow these steps carefully.
- Find the charging port, usually located on the side or back.
- Use the provided USB cable to plug the opener into a wall adapter or computer.
- Watch the indicator light. It usually turns green or stops blinking when fully charged.
- A full charge often takes two to three hours. Do not use the device while it is charging for safety.
Attaching the Opener to the Can
This is the most important part of setting up Kitchen Mama can opener. A good grip means an easy cut.
- Locate the Lever: On the side of your Kitchen Mama, there is a small lever or handle. Lift this lever up. This opens the jaws of the opener.
- Position on the Can: Place the raised lever over the top edge (the rim) of the can. The cutting wheel should sit just inside the rim. The gear, which grips the can, should be underneath the rim.
- Secure the Grip: Gently press the lever down. You should feel the opener clamp firmly onto the can edge. It should feel secure, not loose.
If it feels loose, try repositioning it slightly. The opener must hold tight to walk around the can smoothly.
Step-by-Step Guide: Using Kitchen Mama Opener on Different Cans
Once the opener is securely attached, the process is mostly automatic. This section details the core operation, whether you are using Kitchen Mama opener on different cans or the same type repeatedly.
Activating the Can Opener
After clamping the device, you are ready to start the motor.
- Find the Power Button: Locate the main switch. It is usually on the top or front.
- Turn it On: Press the button firmly. You will hear the motor start. The gear mechanism will begin turning the can slowly.
- Let it Work: Do not hold the opener or try to push it along. The Kitchen Mama is designed to “walk” itself around the lid. Just keep a light touch on top to steady it if needed.
Monitoring the Cut
Keep an eye on the can as it turns. This helps you spot issues early.
- The opener moves slowly. This slow speed helps ensure a clean cut.
- It will travel the entire circumference of the lid.
- When the cut is complete, the opener will often stop by itself or make a distinct noise. The cutting wheel detaches from the lid.
Removing the Lid Safely
The lid is now separated from the can, but it might still be stuck to the magnetic part of the opener.
- Switch Off Power: Always turn the power switch off first.
- Release the Lever: Lift the main lever up again. This releases the grip on the can.
- Lift the Opener: Gently lift the opener away from the can. The lid should come with it, held by the magnet on the cutting wheel assembly.
- Detach the Lid: Tilt the opener slightly. The lid should easily drop off the magnetic surface.
Caution: The edge of the newly cut lid will be very sharp. Do not touch the cut edge.
Using Kitchen Mama Opener on Different Cans
The beauty of the electric Kitchen Mama is its versatility. It handles various sizes and shapes well.
| Can Type | Best Practice Tip | Common Issues to Watch For |
|---|---|---|
| Tall/Slim Cans | Ensure the opener is level; center the cutting wheel precisely. | Tilting or slipping off the rim midway through. |
| Wide/Short Cans | Make sure the device isn’t scraping the countertop during rotation. | The device might rock if the base is uneven. |
| Cans with Odd Lids | For unusually thick rims, ensure the jaws are fully clamped before starting. | Inability to grip the rim securely. |
Comparing Opener Types: Manual Can Opener vs Electric Can Opener
Many people upgrade to an electric model like the Kitchen Mama after years of using a manual one. Deciding between a manual can opener vs electric comes down to ease of use and physical ability.
Advantages of Electric Openers (Kitchen Mama)
Electric openers are excellent for people with limited hand strength, arthritis, or dexterity issues.
- Effortless Operation: You press a button; the machine does the work.
- Consistency: Electric models provide a smooth, even cut every time.
- Safety: They cut the side seam of the can, leaving a smooth edge on the lid and can rim.
Advantages of Manual Openers
While less powerful, manual openers have their place.
- Portability: They require no batteries or power source. Great for camping.
- Simplicity: Fewer parts mean less to break down or charge.
- Cost: Generally much cheaper to purchase upfront.
For everyday kitchen use, most users find the Kitchen Mama superior, making it one of the best way to use electric can opener methods available for seniors or busy cooks.
Maintenance: How to Clean Kitchen Mama Can Opener
Keeping your Kitchen Mama clean ensures it works well and stays hygienic. Proper cleaning extends the life of your appliance. Here is how to clean Kitchen Mama can opener safely.
Cleaning After Each Use
Because the opener touches food residue, quick cleaning is essential.
- Power Down: Make sure the device is turned OFF. If possible, remove batteries if it’s not rechargeable, or ensure it is unplugged.
- Wipe Exterior: Use a damp cloth to wipe down the main body of the opener. Avoid submerging the motor housing in water.
- Clean the Jaws: Pay close attention to the area where the cutting wheel and gear meet. Food particles can stick here. Use a soft brush (like an old toothbrush) to gently sweep debris away.
Deep Cleaning the Cutting Mechanism
The cutting wheel assembly often needs more attention.
- Check for Removable Parts: Some Kitchen Mama models allow the cutting wheel mechanism to detach. Consult your specific manual for this feature. If it detaches, you can wash that specific part gently with soap and water. Rinse thoroughly and dry completely before reattaching.
- Stubborn Residue: If gunk builds up, try this trick: Open the jaws slightly, then carefully use a toothpick or cotton swab dipped in warm soapy water to clean around the sharp cutting wheel teeth. Be extremely careful not to cut yourself.
Important: Never put the main body of the Kitchen Mama in the dishwasher or under running water. Water can damage the internal motor and electronics.
Troubleshooting Common Kitchen Mama Issues
Even the best gadgets have hiccups. If your opener isn’t working perfectly, these tips might help you with Kitchen Mama can opener troubleshooting.
Problem 1: The Opener Won’t Grip the Can
If the device spins but doesn’t cut, the grip is failing.
- Check the Lever: Did you push the release lever down firmly? It needs to clamp tight.
- Examine the Rim: Is the can rim bent or damaged? Dents prevent a smooth lock. Try moving the opener to a different spot on the can if the initial spot is damaged.
- Worn Gear: If the gear teeth (the part that grips the can) look smooth or worn down, the opener might need replacement parts or a new unit.
Problem 2: The Opener Stops Mid-Cut
If the motor suddenly quits, it’s usually a power issue or an obstruction.
- Check Battery Level: If the battery is low, the motor may not have enough torque to finish the cut, especially on tough cans. Recharge the unit.
- Obstruction: Did a piece of metal or debris jam the mechanism? Turn the power OFF. Carefully inspect the cutting area and remove any blockage.
Problem 3: The Cut is Jagged or Incomplete
A rough cut means the cutting wheel isn’t working correctly.
- Cutting Wheel Sharpness: Over time, the cutting wheel dulls. If you are experiencing jagged edges consistently, the wheel may need replacing.
- Speed: If you are using an older or lower-powered model, very thick cans might challenge it. Make sure you are giving it enough time to complete the rotation.
Exploring Safety Features of Kitchen Mama Can Opener
One major selling point for models like the Kitchen Mama is the integrated safety features of Kitchen Mama can opener. These features make it much safer than traditional tools.
Side-Cut Technology
Most Kitchen Mama openers use side-cut technology, which is fundamentally safer than top-cut models.
- Where it Cuts: Instead of cutting straight down through the top of the lid, it cuts along the smooth side seam, just below the rim.
- Resulting Edges: This leaves the top of the can smooth and the lid edge smooth. You avoid sharp points entirely.
Magnetic Assistance
The built-in magnet is a simple but effective safety feature. It holds the lid securely after the cut, preventing the sharp lid from falling into your food or requiring you to touch it with your fingers.
Automatic Shut-Off
Modern versions usually feature an automatic shut-off. Once the device completes a full circle and the lid is detached, the motor stops running on its own. This prevents overheating and saves battery life if you forget to switch it off immediately.
Power Management: Kitchen Mama Can Opener Battery Replacement
Since most Kitchen Mama openers are cordless, managing the power source is key to reliable use. This addresses Kitchen Mama can opener battery replacement when the built-in unit eventually wears out.
Checking Battery Status
Most units have an LED indicator light that changes color (e.g., red for low, green for full) during charging or operation. Check your specific model’s manual to confirm what the lights mean for your device.
Rechargeable vs. Replaceable Batteries
It is important to know what type of power system your model uses:
- Internal Rechargeable Battery (Most Common): These batteries are built into the unit. When they stop holding a charge effectively (usually after several years), you generally cannot replace them yourself. At this point, the manufacturer might offer a trade-in or recycling program, or you might need a new unit.
- Standard Batteries (Less Common Now): Some older or very basic models might use standard AA or AAA batteries.
If your model uses standard batteries, follow these steps for replacement:
- Turn the unit OFF and ensure it is clean.
- Locate the battery compartment cover (usually on the bottom).
- Unscrew or unclip the cover.
- Remove the old batteries, paying attention to the positive (+) and negative (-) orientation markings inside the compartment.
- Insert the new batteries correctly.
- Replace the cover securely.
For built-in rechargeable units, if charging no longer brings life to the device after several years of service, it is time to consider purchasing a new Kitchen Mama unit.
Final Thoughts on Your Kitchen Companion
The Kitchen Mama can opener brings modern ease to a daily kitchen task. By following these clear instructions for setup, operation, and cleaning, you ensure your device performs its best. Always prioritize safety by letting the machine do the work and handling the sharp lids carefully.
Frequently Asked Questions (FAQ)
Q1: Can I use my Kitchen Mama opener on a smooth-sided soup can with no defined rim?
A: Kitchen Mama openers are designed to grip the distinct rim or lip found on standard food cans. If a can is perfectly smooth (like some specialty beverage cans), the device may not be able to grip it firmly enough to start the rotation. Always look for a clear, solid edge to clamp onto.
Q2: Why is my Kitchen Mama opener making a loud grinding noise?
A: A loud grinding noise usually means the cutting wheel or the drive gear is obstructed or damaged. First, turn it off immediately. Check for stuck debris. If cleaning does not stop the noise, the internal gearing may be stripped, which requires professional repair or replacement of the unit, depending on the warranty status.
Q3: How long should the battery last on a single charge?
A: This varies by model and usage intensity. Generally, a full charge should allow you to open between 50 to 100 standard-sized cans. If you notice it struggling after only 10 or 20 cans, the battery may need more time to charge fully or is nearing the end of its effective lifespan.
Q4: Does the Kitchen Mama opener leave sharp edges on the can itself?
A: No. One of the primary benefits of the Kitchen Mama’s side-cut mechanism is that it cuts below the lip of the can. This leaves the main body of the can and the remaining rim smooth, preventing cuts when handling the open can body.
Q5: Can I leave the Kitchen Mama opener attached to the can while waiting to open it?
A: It is best practice to only attach the opener right before you intend to press the power button. Leaving it clamped on for long periods might unnecessarily strain the spring or clamp mechanism. Also, always ensure the power is OFF before attaching or detaching it from the can.