
Staining kitchen cabinets can completely change the look of your kitchen. You might wonder, how do you stain kitchen cabinets? The short answer is: you clean them well, remove the old finish if needed, apply the stain evenly, and then seal the wood. This guide will walk you through the entire kitchen cabinet staining process step by step. We will cover everything from getting ready to the final coat.
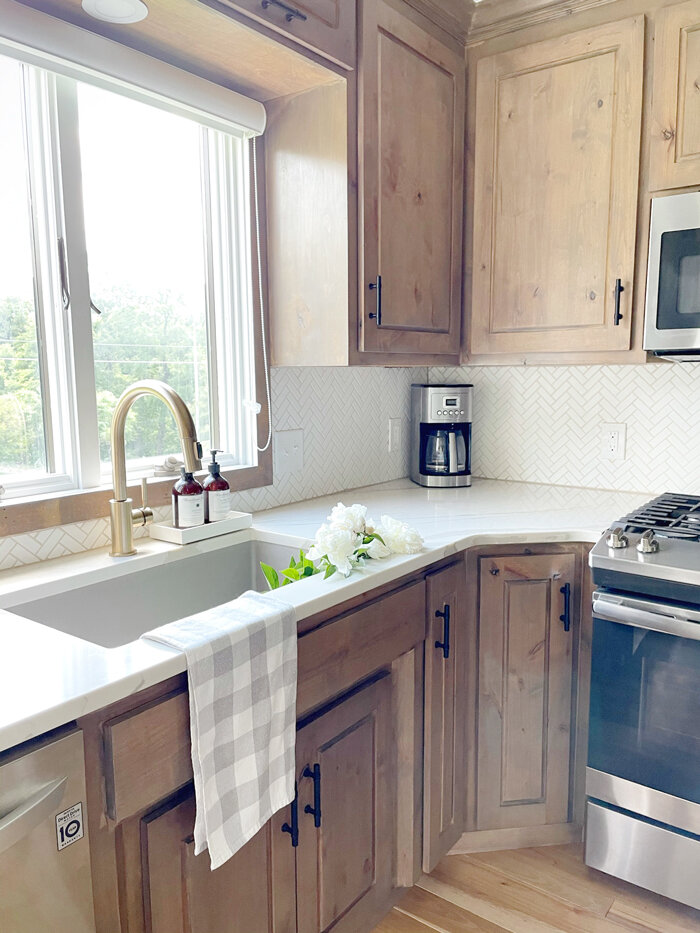
Image Source: amandakatherine.com
Preparing Cabinets for Staining: The Crucial First Step
Good preparation is key to great results. If you skip these steps, your stain might look patchy or peel later. Preparing cabinets for staining takes time, but it’s worth it.
Removing Hardware and Doors
First, take everything off. Remove all hinges, knobs, and pulls. Put them in a safe box so you don’t lose them. Take the cabinet doors off the frames. This lets you work on a flat surface. It makes staining much easier and helps you get even coverage. Lay all doors and hardware out on a protected surface, like a drop cloth.
Removing Old Finish from Kitchen Cabinets
If your cabinets have a thick, glossy, or painted finish, you must remove it. Stain only soaks into bare wood. Removing old finish from kitchen cabinets often requires sanding or using a chemical stripper.
Chemical Stripping
Use a good quality chemical stripper if the old finish is very thick or hard to sand off.
- Apply the stripper with an old brush. Follow the product directions exactly.
- Let it sit until the finish bubbles up.
- Scrape the old finish off gently using a plastic scraper. Metal can scratch the wood.
- Wipe the wood clean with mineral spirits or water, depending on the stripper used.
Sanding
Sanding smooths the surface and removes light finishes.
- Start with a medium-grit sandpaper, maybe 100 or 120 grit. This removes any leftover finish or minor scratches.
- Switch to a finer grit, like 180 grit, to smooth the wood surface.
- Finish with 220-grit sandpaper. This makes the wood very smooth and ready for stain.
- Always sand with the wood grain. Sanding against the grain leaves ugly marks.
Cleaning the Bare Wood
After stripping or sanding, the wood holds dust. You must clean it all away.
- Wipe down every surface with a tack cloth. A tack cloth picks up fine dust particles.
- You can also use a cloth dampened with mineral spirits. This helps remove sanding dust and natural oils from the wood. Let the wood dry fully before staining.
Conditioning the Wood (If Needed)
Some woods, like pine, cherry, or maple, can absorb stain unevenly. This causes blotchiness. Wood conditioner helps prevent this.
- Apply the wood conditioner with a clean rag or brush.
- Let it soak in for the time listed on the can.
- Wipe off any excess conditioner that hasn’t soaked in after the waiting time.
- Wait a couple of hours for the conditioner to fully dry before staining.
Choosing Kitchen Cabinet Stain Color and Type
Selecting the right product is vital for refinishing kitchen cabinets with stain. There are many types available. Your choice affects how you apply the color.
Types of Wood Stain
There are three main types of stain used for wood projects.
| Stain Type | Best For | Pros | Cons |
|---|---|---|---|
| Oil-Based Stain | Deep color, traditional look | Deep penetration, good durability | Long dry time, strong fumes |
| Water-Based Stain | Quick projects, low odor | Fast drying, easy cleanup | Can sometimes raise the wood grain |
| Gel Stain | Bare or previously finished wood, tricky grains | Easy to apply, less likely to drip, good color payoff | Can look slightly thicker on the surface |
For cabinets, many DIYers prefer gel stains. How to apply gel stain to cabinets is very straightforward. Gel stains are great for refinishing kitchen cabinets with stain because they offer more control.
Selecting the Best Wood Stain for Kitchen Cabinets
The best wood stain for kitchen cabinets depends on your cabinet wood and desired look.
- If you want a dark, rich color: Oil-based or gel stains work well. They penetrate deeply.
- If you have soft wood (like pine): Use a gel stain or a pre-conditioner. This keeps it from getting too dark in soft spots.
- If you want a very light stain: Use a “wiping stain.” These are thinner and let more of the natural wood grain show through.
Choosing Kitchen Cabinet Stain Color
Choosing kitchen cabinet stain color should match your countertops, flooring, and wall paint.
- Warm tones (reds, oranges, golds) make a room feel cozy.
- Cool tones (grays, dark browns) give a modern, sleek look.
- Always test colors first! Use scrap wood or an inconspicuous spot inside a door panel.
Applying the Stain: Technique Matters
Once the wood is prepped and you have your stain, it’s time for application. This is where technique truly matters for a professional finish.
Wiping Stain Onto Kitchen Cabinets
For most DIY projects, wiping stain onto kitchen cabinets is the preferred method. It offers the best control over color depth.
- Use the Right Tool: Use a clean, lint-free cloth, foam brush, or a staining pad. Do not use a regular paint brush, as it can leave brush marks.
- Apply Liberally: Dip your cloth into the stain. Start applying the stain to the wood. Cover a small section completely.
- Work with the Grain: Always move the rag in the direction of the wood grain. This helps push the pigment down into the wood pores.
- Maintain a Wet Edge: Work quickly. Try to blend the section you just started with the section you finished previously. This is called maintaining a “wet edge.” It stops noticeable lines where you stopped and restarted.
Controlling the Color Depth
The longer the stain sits on the wood, the darker the color gets.
- For a light color: Wipe the stain on, let it sit for 5 to 10 minutes, then wipe off the excess.
- For a medium color: Let it sit for 15 to 30 minutes before wiping.
- For a very dark color: Let it sit for an hour or more.
Crucial Tip: You must wipe off all the excess stain. If you leave pools or thick areas, they will dry dark and unevenly. This is a common mistake when wiping stain onto kitchen cabinets.
Applying Gel Stain Specifically
If you chose a gel stain, the process is slightly different. Gel stains sit on top of the wood more than liquid stains.
- Apply a small amount of gel stain onto a foam applicator or rag.
- Rub the stain into the wood grain using circular motions first. This forces the color into the pores.
- Then, switch to wiping along the grain to smooth out the layer.
- Wait the recommended time (often 10–30 minutes) before wiping off the excess. Gel stains are more forgiving if you need a second coat for richer color.
Staining the Details
Cabinet doors often have grooves and panels. Use a small artist’s brush or an angled brush to get the stain into these tight spots. Apply the stain, let it sit briefly, and then use a small cloth or cotton swab to gently wipe the excess out of the grooves.
Drying Time Between Coats
Allow the stain to dry fully before proceeding. Drying times vary greatly depending on temperature, humidity, and the stain type.
- Oil-based stains can take 24 to 48 hours.
- Water-based stains might dry in 2 to 4 hours.
- Always check the can for specific instructions. If the stain feels tacky, it is not ready for sealing.
Applying a Second Coat of Stain
Do you need more than one coat? If the first coat didn’t reach the color depth you want, a second coat can help.
- Important Rule: If you are using an oil-based stain, you usually do not need to sand between coats. Just apply the second coat carefully over the dried first coat.
- If you used a water-based stain, lightly scuff the surface with 320-grit sandpaper or a fine sanding sponge after the first coat is fully dry. This smooths any raised grain. Wipe away the dust before the second coat.
This controlled layering is part of effective refinishing kitchen cabinets with stain.
Sealing Stained Kitchen Cabinets: Protecting Your Work
Stain only adds color; it does not protect the wood from daily wear, spills, or moisture. You absolutely must seal stained cabinets. Sealing stained kitchen cabinets locks in the color and adds durability.
Choosing a Topcoat
The topcoat you choose is the protective armor for your cabinets. Polyurethane is the most common and durable choice.
| Topcoat Type | Durability | Look | Application Notes |
|---|---|---|---|
| Oil-Based Polyurethane | Very High | Adds a slight amber/warm tone | Longest dry time, strongest fumes |
| Water-Based Polyurethane | High | Clear finish, stays true to the stain color | Dries fast, low odor |
| Conversion Varnish (Professional) | Extremely High | Very tough, commercial finish | Requires professional spraying equipment |
For most DIY projects, water-based polyurethane is a great choice. It dries fast and keeps your choosing kitchen cabinet stain color true.
Applying the Topcoat
Just like staining, application technique is key for a smooth, professional seal.
- Light Sanding (Scuff Sanding): After the final stain coat is fully cured (wait at least 24 hours), lightly sand the entire surface with very fine sandpaper (320 or 400 grit). This step is vital for topcoat adhesion.
- Clean Thoroughly: Use a tack cloth or a rag dampened with mineral spirits to remove all sanding dust. Any dust trapped under the finish will look like a bump.
- Apply the First Seal Coat: Use a high-quality synthetic brush or a foam applicator pad. Apply the polyurethane evenly. Keep your strokes long and smooth. Avoid over-brushing, as this introduces air bubbles.
- Drying Time: Let the first coat dry completely according to the product label.
Between Coats of Sealer
To get the best protection, you will need two or three coats of sealer.
- After the first coat dries, sand it very lightly using 400-grit sandpaper or a fine sanding sponge. This smooths out any tiny imperfections or dust nibs that settled while drying.
- Wipe clean with a tack cloth.
- Apply the second coat of polyurethane.
- Repeat this process for a third coat if you want maximum protection, which is recommended for kitchen areas.
Allow the final coat to cure fully before putting hardware back on or hanging the doors. This can take several days, though it might feel dry to the touch in hours.
DIY Kitchen Cabinet Staining Tips for Success
Here are some final tips to ensure your DIY kitchen cabinet staining tips lead to success.
Test, Test, Test
Never apply stain directly to the cabinet without testing it first. Use an inside surface of a door or a piece of scrap wood from the same cabinets (if you have any). Different wood species react differently even to the same stain.
Work in Sections
If you are staining the cabinet boxes (the frame attached to the wall), work one section at a time. Stain the inside shelves first, then the outer sides, and finally the front face frame. This prevents the stain from drying before you blend your edges.
Minimize Handling
Once the stain is on, handle the doors and drawers as little as possible while they dry. Use painter’s tape on the edges of the doors if you need to move them while wet, but try to keep the tape off the stained surface itself.
Proper Ventilation
Staining releases strong fumes, especially with oil-based products. Always work in a well-ventilated area. Open windows and use fans to move air out of the room. Wear a respirator mask rated for organic vapors, not just a dust mask. Safety is crucial during the entire kitchen cabinet staining process.
Dealing with Hardware
You have two options for hardware:
- Replace: This is a great time to upgrade knobs and pulls.
- Refinish: If you keep the old hardware, clean it thoroughly. Do not stain metal hardware. If you plan to paint or coat it, you must remove it completely and clean it with degreaser.
Final Review of the Kitchen Cabinet Staining Process
Refinishing your cabinets is a marathon, not a sprint. Following these steps ensures you have a durable, beautiful finish.
- Disassemble: Remove doors and hardware.
- Strip/Sand: Get down to bare wood by removing old finish from kitchen cabinets.
- Clean: Wipe off all dust and oils.
- Condition (If Needed): Apply wood conditioner to prevent blotching.
- Stain: Apply your chosen stain (best wood stain for kitchen cabinets choice here) evenly, wiping off excess.
- Cure: Let the stain dry completely.
- Seal: Apply multiple coats of polyurethane, sanding lightly between coats.
- Reassemble: Put everything back together.
This whole process ensures your hard work pays off, giving you newly stained kitchen cabinets that look fantastic.
Frequently Asked Questions (FAQ)
Can I stain cabinets that have already been painted?
Yes, but it is much harder. You must completely remove the paint first. Stain will not adhere to latex or oil-based paint. You must strip or sand down to bare wood, which is often the most time-consuming part of removing old finish from kitchen cabinets.
How long do I have to wait before using my cabinets after staining?
While the stain may feel dry in a day, the finish needs time to harden or cure. Wait at least 48 hours before handling the doors frequently. Wait a full week before placing heavy items or constantly wiping down the surfaces. This curing time is essential for durability.
What grit sandpaper should I use to sand between coats of polyurethane?
You should use a very fine grit sandpaper, typically 320 or 400 grit. This light sanding (often called “scuff sanding”) just dulls the gloss of the previous coat so the new coat can stick well. Always wipe away the dust immediately after sanding.
Is it necessary to use wood conditioner before staining cabinets?
It is highly recommended if you are working with woods known for blotching, like maple, birch, or pine. Wood conditioner helps the stain soak in evenly, resulting in a much more consistent color when wiping stain onto kitchen cabinets.