
Can I do kitchen tiling myself? Yes, you absolutely can do kitchen tiling yourself! With the right tools, patience, and this step-by-step kitchen tile installation guide, even beginners can achieve a professional-looking result in their kitchen.
This detailed guide will walk you through every step needed for tiling your kitchen floor, walls, and even countertops. We focus on making the process clear, simple, and easy to follow. Let’s get started on transforming your kitchen space!
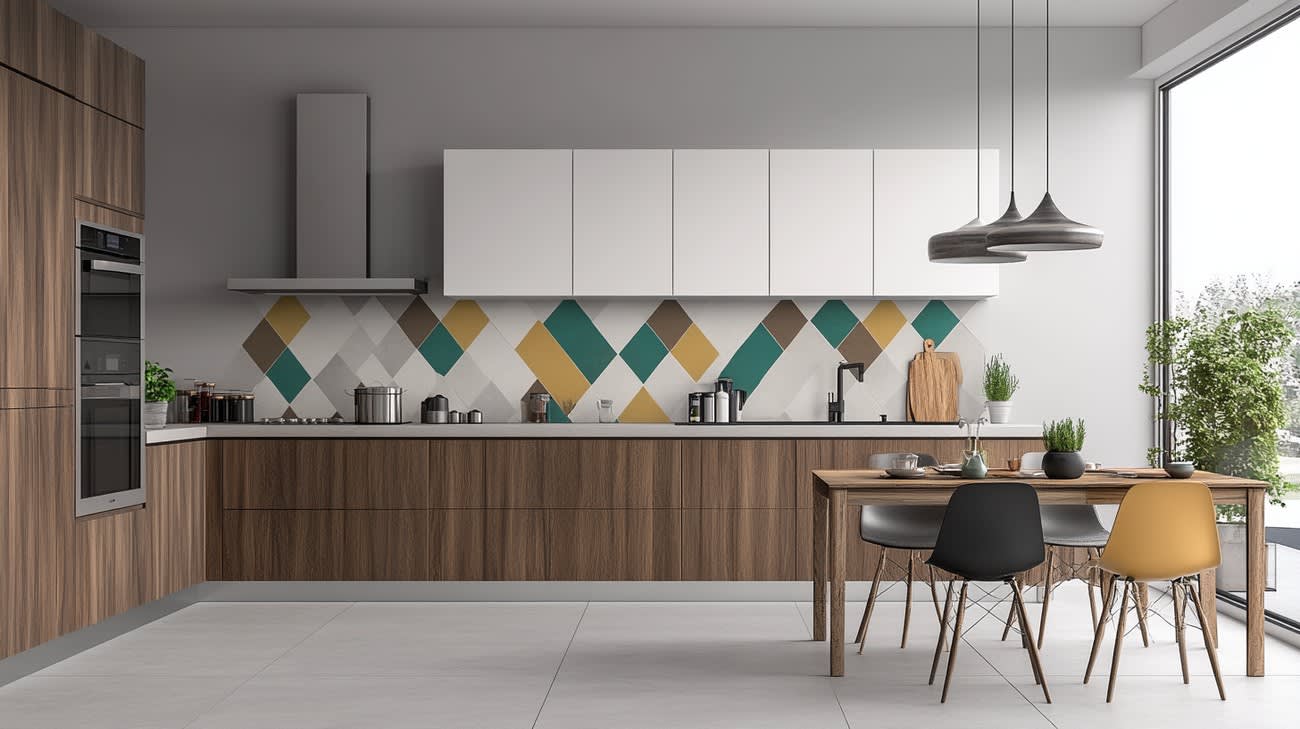
Image Source: images.ctfassets.net
Choosing Kitchen Tiles: Making the Right Selection
Selecting the right tiles is the first big step. Good choosing kitchen tiles involves looking at looks, function, and safety. Your kitchen sees a lot of spills, foot traffic, and heat. So, the tiles must handle it all.
Factors for Tile Selection
When picking tiles, think about these key points:
- Durability (PEI Rating): This measures how tough the tile is. For kitchen floors, look for a PEI rating of 3 or higher. This means they can handle daily use well.
- Slip Resistance: Kitchen floors can get wet. Choose tiles with a decent Coefficient of Friction (COF). Matt finishes are usually safer than high-gloss ones.
- Size and Shape: Large tiles mean fewer grout lines, making cleaning easier. Small mosaics look great as backsplashes but require more work.
- Maintenance: Some tiles, like natural stone, need regular sealing. Ceramic and porcelain are low-maintenance heroes.
Table 1: Common Kitchen Tile Materials
| Tile Type | Pros | Cons | Best Use |
|---|---|---|---|
| Ceramic | Cheap, many styles, easy to clean | Can chip easily, less durable than porcelain | Walls, low-traffic areas |
| Porcelain | Very strong, water-resistant, long-lasting | Harder to cut, slightly pricier than ceramic | Floors, high-traffic areas |
| Natural Stone | Unique look, adds value | Needs sealing, can stain, expensive | Luxury finishes, countertops (with care) |
Prepping Kitchen Surfaces for Tiling
Proper prep work is vital. Bad prep leads to loose tiles and cracked grout later. Think of this as building a strong base. Prepping kitchen surfaces for tiling ensures your new tiles stick well and last long.
Prepping the Kitchen Floor
If you are laying kitchen floor tiles, the surface must be clean, dry, and level.
- Remove Old Flooring: Pull up old vinyl, carpet, or existing tiles. Get down to the subfloor.
- Clean Thoroughly: Sweep and vacuum all dust and debris. Wash the floor with a degreaser if it’s very old or greasy.
- Check for Levelness: Use a long, straight edge (like a level or a long board) to find dips or humps. Floors should be level within 1/8 inch over 10 feet.
- Fix Uneven Spots: Use a self-leveling underlayment for large dips. Patch small holes with patching compound. Let everything dry fully.
Prepping Kitchen Walls and Backsplashes
Wall preparation focuses on a smooth, sound surface for your backsplash tiling tutorial.
- Remove Wall Coverings: Take off wallpaper. Scrape off any loose paint or bumps.
- Repair Cracks: Fill all cracks or holes in the drywall with joint compound. Sand smooth once dry.
- Waterproofing Kitchen Backsplash: This is key, especially behind the sink or stove. Apply a cement-based waterproofing membrane (like RedGard) to the areas that will get wet often. Follow the product directions for drying time. This step stops moisture from damaging the wall structure.
Essential Tools for Kitchen Tiling
To make this project smooth, gather all your supplies first. Having the right tools makes the job faster and safer.
- Tile cutter (wet saw recommended for floors/porcelain)
- Notched trowel (size depends on tile size)
- Margin trowel
- Level (4-foot is ideal)
- Measuring tape and pencil
- Grout float
- Buckets for water and thin-set
- Sponges and rags
- Safety gear: Gloves, safety glasses, knee pads
Step-by-Step: Laying Kitchen Floor Tiles
Laying kitchen floor tiles requires precision. Measure twice, cut once!
Step 1: Planning and Layout
Do not start by sticking tiles down. You need a dry layout first.
- Find the Center Point: Measure the room’s length and width. Mark the dead center.
- Dry Fit Lines: Run a chalk line across the center point both ways. This gives you your main reference lines.
- Check Edge Cuts: Lay tiles dry along the walls, starting from the center lines. If the tiles at the edges are very small (less than half a tile), shift your center line slightly so the cuts on opposite sides are more even. This looks much better when finished.
Step 2: Mixing and Applying Kitchen Tile Adhesive
We use thin-set mortar as the kitchen tile adhesive application.
- Mix the Thin-Set: Follow the bag instructions exactly. Mix only what you can use in about 30 minutes. The mix should look like thick peanut butter. Do not add too much water!
- Apply Adhesive: Start in an area about 3×3 feet that is away from the door. Hold the trowel at a 45-degree angle. Spread a thin, even layer of adhesive onto the floor.
- Comb the Mortar: Use the notched side of the trowel to create uniform ridges (combs) in the adhesive. These ridges help the tile bond completely.
Step 3: Setting the Tiles
This is where the countertop tiling techniques differ slightly from floor work—gravity helps on the floor!
- Place the First Tile: Set the first tile firmly onto the adhesive with a slight twist. This helps spread the mortar evenly under the tile.
- Use Spacers: Insert tile spacers at the corners of the tile. These keep the gaps (for grout) consistent.
- Continue Setting: Work outward from your center point. Check frequently with your level to make sure tiles are flat against each other.
- Back-Butter (If Needed): For large tiles (over 12×12 inches) or if your trowel ridges aren’t perfectly filling the back of the tile, spread a thin layer of adhesive directly onto the back of the tile too. This is crucial for preventing hollow spots.
Step 4: Tile Cutting for Kitchen
Accurate cuts are essential, especially around cabinets and doorways. This is where tile cutting for kitchen comes in.
- Straight Cuts: Use a wet saw for the cleanest cuts on porcelain or stone. For ceramic tiles, a snap cutter might suffice for simple straight lines. Always wear eye protection.
- Curved or Irregular Cuts (e.g., around pipes): Use a wet saw with a diamond blade or a grinder with a diamond wheel to make these tricky cuts. Measure the required space, transfer the marks to the tile, and cut slowly.
Let the thin-set cure completely. This usually takes 24 to 48 hours before you walk on it or start grouting.
Backsplash Tiling Tutorial: Walls Above Counters
Backsplash tiling tutorial focuses on vertical placement, which requires good grip from the adhesive.
Layout for Backsplashes
Unlike floors, backsplashes often look best when the pattern is centered behind the main focal point, usually the stove or sink.
- Identify Focal Point: Locate the center point above the stove or sink.
- Dry Fit: Mark the center point on the wall. Dry lay tiles outward. You want the cuts on the far edges (near the corners) to be as close to full tiles as possible. You may need to adjust your center line slightly.
- Determine Grout Line Height: Ensure the bottom row lines up perfectly with the countertop surface.
Applying Adhesive to Walls
Because walls are vertical, the kitchen tile adhesive application needs to be firm so tiles don’t slide down.
- Use the Right Trowel: Wall tiles often use a smaller notched trowel (e.g., 1/4 inch square notch) than floors. This creates smaller ridges that hold the tile better vertically.
- Apply in Small Sections: Only spread adhesive on an area you can cover with tiles in 10-15 minutes. Gravity will cause thin-set to slump if left too long.
- Setting the Tile: Press the tile firmly onto the wall. Give it a slight wiggle to set it into the adhesive. Use spacers immediately. Check the vertical alignment constantly with a level.
Waterproofing Kitchen Backsplash Considerations
If you tile directly over drywall, moisture from spills or steam can ruin the wall behind the tile. We already mentioned applying a membrane earlier. If you skipped that, ensure you use a high-quality, unmodified thin-set mixed with water, and make sure the grout lines are sealed thoroughly later. For high-moisture areas like shower surrounds (though not typically kitchen walls), membranes are mandatory.
Finishing Touches: Grouting Kitchen Tiles
Grouting fills the gaps, locks the tiles in place, and gives the entire surface a clean, finished look. This step is essential for both floors and walls.
Grouting kitchen tiles must be done after the adhesive is fully cured (usually 24–48 hours).
Step 1: Removing Spacers and Cleaning
- Take Out Spacers: Pull all plastic spacers out of the joints.
- Scrape Excess Mortar: If any thin-set oozed up between the tiles, use a utility knife or a sharp scraper to gently remove the excess from the joints before grouting.
Step 2: Mixing the Grout
Grout mixing is crucial for strength and color consistency.
- Follow Directions: Mix the powdered grout with water as directed. Mix only a small batch at a time, as grout sets quickly.
- Consistency Check: The mixed grout should be thick, like firm peanut butter or toothpaste. If it’s too runny, it will fall out of the joints.
Step 3: Applying the Grout
Use a grout float for this process.
- Load the Float: Scoop some grout onto the rubber float.
- Spread Diagonally: Hold the float at a 45-degree angle to the tiles. Press the grout firmly into the joints, working diagonally across the tile pattern. This forces the grout deep into the space.
- Remove Excess: Once the joint is filled, hold the float at a 90-degree angle and scrape off the excess grout sitting on the tile surface, pulling toward you.
Step 4: Initial Cleaning (Sponging)
This is the delicate stage where you shape the grout lines.
- Wait Briefly: Let the grout set for about 10–30 minutes (check product instructions). It should firm up slightly before you sponge it.
- Wipe Gently: Dip a large grout sponge in clean water and wring it out until it is barely damp. Wipe the surface of the tiles in circular motions. Use light pressure. Rinse the sponge frequently in clean water.
- Shape the Lines: Use the edge of the damp sponge to smooth and shape the grout lines into a slight concave curve. Do not dig into the joints!
Step 5: Haze Removal
After several hours (or the next day), a dusty film called “grout haze” will appear on the tiles.
- Buffing: Use a clean, dry cloth or a special grout haze remover product to buff the haze off the tiles. A microfiber cloth works well for this final polish.
Special Considerations for Countertop Tiling Techniques
Tiling a kitchen counter is less common today due to maintenance concerns, but if you choose to do it, you must follow specific countertop tiling techniques.
- Substrate is Critical: Unlike floors, countertops must be absolutely rigid and stable. Use cement backer board securely screwed down. Any flex will crack the grout and potentially the tiles.
- Use Thin-Set for Vertical Surfaces: Apply thin-set thinly and ensure 100% coverage on the back of every small tile to prevent sagging.
- Sealing is Mandatory: Natural stone or porous ceramic tiles on a countertop will absorb liquids instantly. Seal the tiles and the grout thoroughly with a high-quality penetrating sealer before use. Re-seal every 6–12 months.
Maintaining Your New Kitchen Tile Surfaces
Once the tile project is done, care ensures it looks great for years.
Floor Maintenance
For the floor, regular sweeping and damp mopping keep dirt and grit from scratching the surface. Avoid harsh acidic cleaners, which can damage grout.
Backsplash and Countertop Care
Wipe down backsplashes frequently to prevent grease buildup. For sealed stone counters, use pH-neutral cleaners only.
Grout Care
Grout is porous. If you used sanded grout on your floor, ensure you apply a penetrating grout sealer after the initial cure time (usually 72 hours). This barrier stops stains from penetrating the grout lines, making cleaning much easier.
Frequently Asked Questions (FAQ)
Q: Do I need to seal my porcelain tiles?
A: Generally, no. Most modern porcelain tiles are glazed and do not need sealing. However, unglazed or textured porcelain might benefit from a light sealant. Always check the manufacturer’s recommendation.
Q: How long does it take to finish kitchen tiling?
A: A full kitchen floor might take 3–4 days minimum: Day 1 for prep and layout, Day 2 for setting tiles, Day 3 for curing and grouting, and Day 4 for final cleaning and sealing. Backsplashes are usually faster, often completed in 1–2 days.
Q: What is the difference between sanded and unsanded grout?
A: Sanded grout has fine sand mixed in. It is stronger and resists shrinking in wide gaps (1/8 inch or wider). Unsanded grout is smooth and is used for narrow joints (less than 1/8 inch) or with delicate, polished tiles that might scratch from the sand.
Q: Can I tile over existing ceramic tiles?
A: Yes, sometimes. This is called tiling over tile. The existing surface must be very clean, completely flat, and lightly roughed up (sanded) so the new adhesive can grip. You usually need a special “tile-and-mastic” thin-set designed for bonding to existing hard surfaces.
Q: What is the best tile size for a small kitchen floor?
A: While small tiles can make a room look busy, large format tiles (like 18×18 inches or larger) can actually make a small kitchen feel bigger because they reduce the number of grout lines the eye has to follow.